How to Installing Acer Aspire 5536 Series Laptop Display. It is hard work as replace the acer aspire 5536 keyboard and replace the acer aspire 5536 cpu cooling fan.
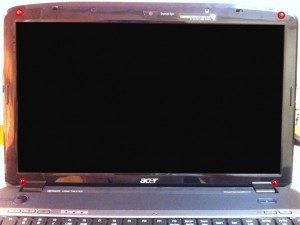
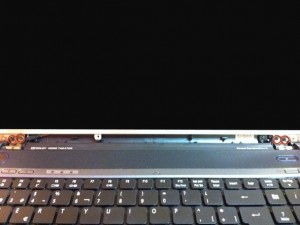
Remove the 4 rubber supports from the screen. Then remove the screws underneath.
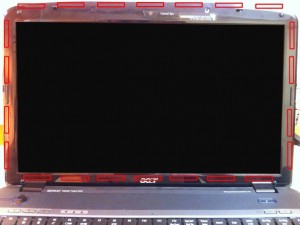
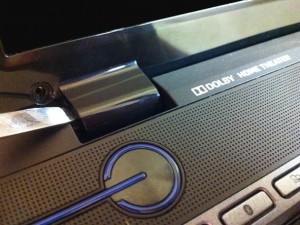
With a spudger, release the clips that hold the plastic frame to the back cover.
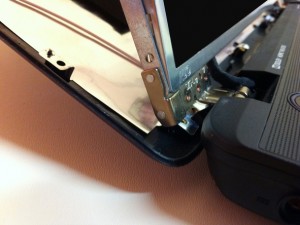
Be careful while handling the bottom part, specially with the hinges, as there are cables inside.
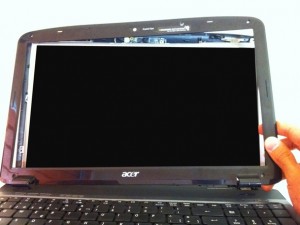
When all the clips are out, the entire plastic frame should come out easily.
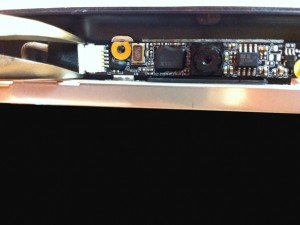
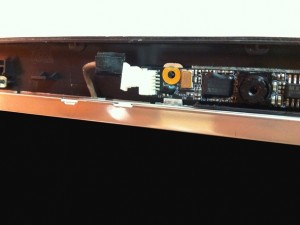
Carefully disconnect the camera cable.
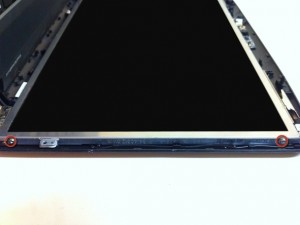
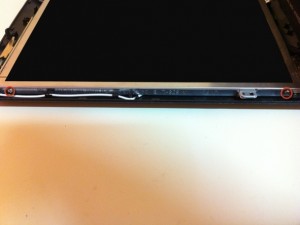
Remove the 4 screws located in the sides of the LCD screen.
Remove the other 4 screws that secure the metal LCD frame to the hinges.
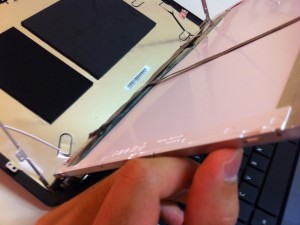
Take the LCD screen out of the metal frame and flip it towards the keyboard.
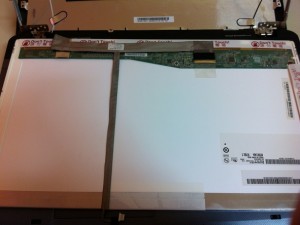
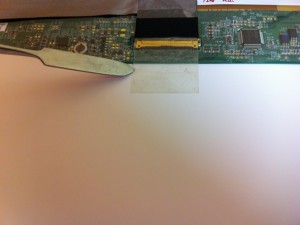
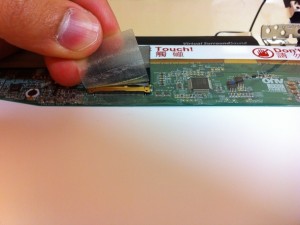
Remove the tape that holds the display cable.
Be careful not to take the entire tape away, as this may cause severe damage to the cable.

