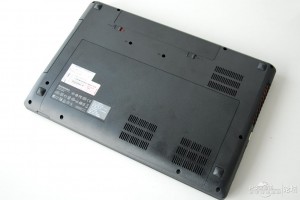
In this blog I will disassemble a Lenovo Y580 and show the inside the laptop
Please turned off the laptop and remove the battery before disassemble.
STEP 1.
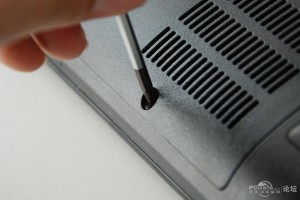
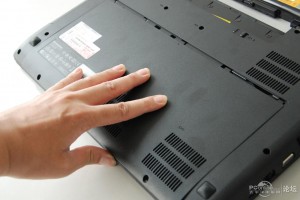
Loosen two screws securing the back cover.
Under the cover you can see HDD, RAM modules and wireless card.
If you want to add a RAM or replace the HDD, it not a hard working.
There is a mini-sata slot near the HDD and wireless card, you can add a ssd with mini-sata slot in there.
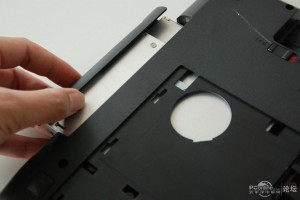
Loosen one screws securing the optical drive, then you can remove it.
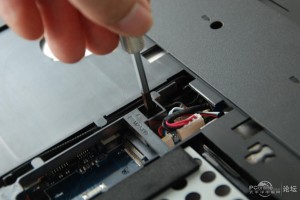
Loosen two screws securing the keyboard, you can see the a keboard remark beside the screw.
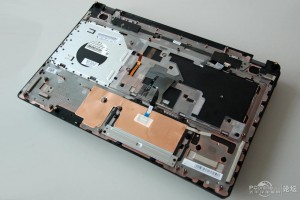
Now, you can remove the keyboard, but, a keyboard cable connect the keyboard and motherboard, please do it carefully.
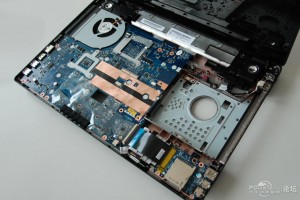
after remove the keyboard and top cover, you will see the motherboard and fan.

